Why does my footage look green?
Usually because the light is green, not the camera. Fluorescent tubes and cheap LEDs put out a spiky spectrum that leans green, and kelvin alone cannot describe it. Fix it at the source with minus green gel, dial the camera's tint toward magenta, or put plus green on every other lamp and take it all out at once.

The cyc is lit, the tubes are up, the talent looks great on the monitor and even better by eye. Nobody says a word about color.
Then the footage comes back, and the skin under one of the tubes has a faint olive cast that was never there on set. The camera did not make it up. It was in the light all along, and your eyes quietly took it out.
Your eyes adjust and the camera does not
Stand in a room lit by old fluorescents for a minute and it looks white. Your eyes rebalance to whatever light you are in, all the time, without asking. The camera records the light as it is. That is why green casts are so often found in the edit and not on set: nobody on set could see them.
Kelvin only describes half of it
A color temperature is a point on one line, the colors a glowing filament goes through as it heats up, from candle orange to tungsten to daylight blue. Tungsten lamps sit right on that line. Tubes and a lot of LEDs sit off it, toward green, and a kelvin number cannot say how far off. Two lights can both read 3200 K and still not match, because one of them is green.
That second number is tint, the green to magenta axis. When you read a light, read both. A meter that only gives you kelvin will tell you the tube and the tungsten are the same.
Where the green comes from
Fluorescent tubes are the classic case. Their light comes in a few sharp spikes instead of a smooth spread, and one of the biggest sits in the green. Budget LED panels and household LED bulbs can do something similar, and the cheaper the lamp, the more likely it is. On location, look up: office tubes, warehouse overheads and parking lot lights are the usual suspects. Daylight bouncing off green grass or a green wall can put a cast on a face too, though that one you can usually see.
Three ways to fix it
At the source. Minus green is a magenta gel that takes the green out of the light itself. It comes in sleeves for tubes and sheets for panels, in full, half and quarter strength. Many LED fixtures now have their own green and magenta control, so check the menu before reaching for gel.
In the camera. If the green light is the only light in the scene, move the camera's tint toward magenta, or white balance off a gray card under it. This only works when everything in frame is lit by the same green source.
Plus green on everything else. In an office full of overheads you cannot reach, flip it around. Put plus green on your film lamps so every source in the room leans green by the same amount, then take the green out once, in the camera or the grade. It is an old trick, and it still works.
What does not work is fixing a mix in the grade. If the face is lit by a green tube and the background by a window, pulling green out of the whole frame turns the window magenta. Mixed green has to be solved on set.
Green and magenta correction, in LEE numbers
| Strength | Plus green | Minus green | Roughly |
|---|---|---|---|
| Full | LEE 244 | LEE 247 | CC 30 |
| Half | LEE 245 | LEE 248 | CC 15 |
| Quarter | LEE 246 | LEE 249 | CC 7.5 |
Nominal CC values, the ones the app uses for its hint. Tubes and LEDs vary lamp to lamp, so test the sheet on camera before you gel a whole floor.
Catch it before the footage comes back
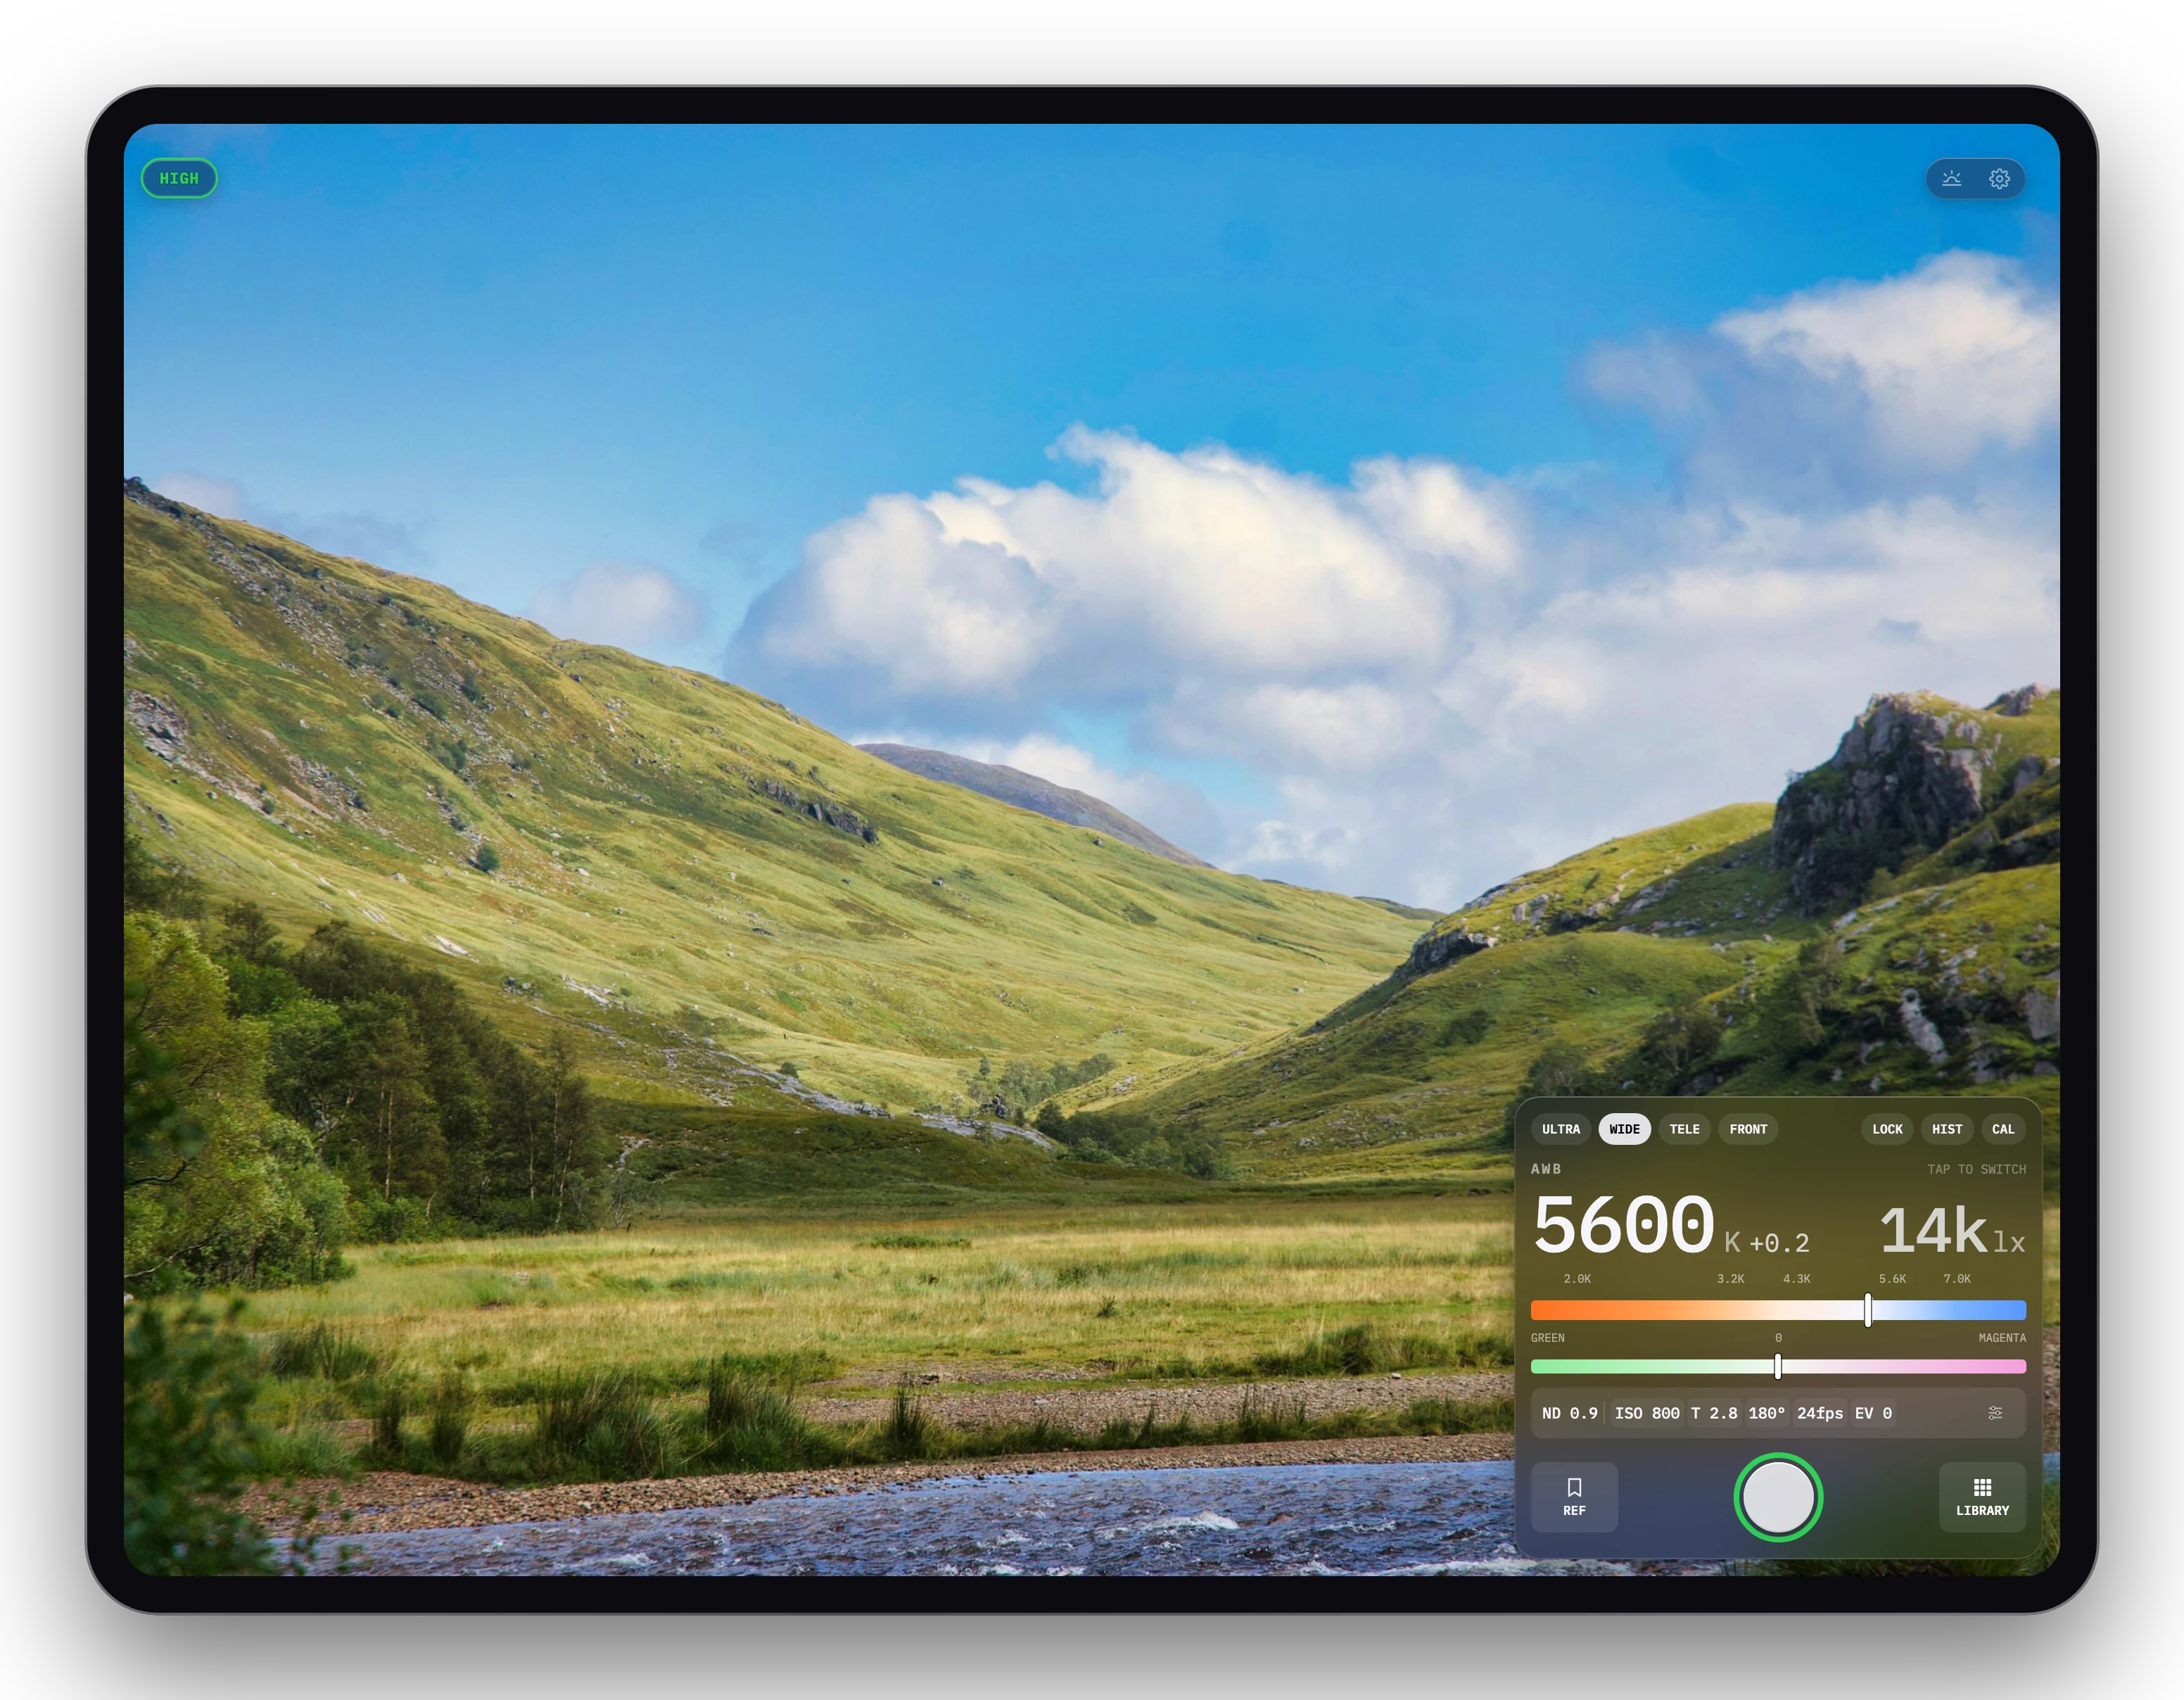
On the Cutvey Meter card the tint bar runs from GREEN to MAGENTA under the kelvin bar, and the tint figure sits next to the kelvin. When the marker leans toward GREEN, the light does too. Read the tint as a direction and a rough size, and test a sheet on camera before you order gel by it. The app itself only offers a green or magenta suggestion as a rough hint.
On a light that looks suspicious, hold LOG for a RAW reading. On spiky sources the RAW measurement and the camera's own estimate often disagree, and when they are more than 15 mired apart the badge says DIFFICULT SOURCE. That is your cue to check on the camera itself: put a gray card under the light, shoot it, and look at the vectorscope. If the card sits off center toward green, so does every face in that light.